Home Series: Kitchen Remodel

This post is almost as long-awaited as the remodel itself – our kitchen is finally done! Well, to be honest, it's been functional since May, but we've been waiting on those last design details before it felt truly complete.
Despite working in the kitchen for past couple months, Jim and I still repeatedly catch ourselves in moment of disbelief that this is our house. Our previous kitchen – while livable – was on the short list for renovation since we purchased the house in 2012. Cosmetic fix-ups took priority at the time, but we fully knew the kitchen had to be gutted and rebuilt – not only for our own function, but for eventual resale value (although now, I can't imagine leaving this space).
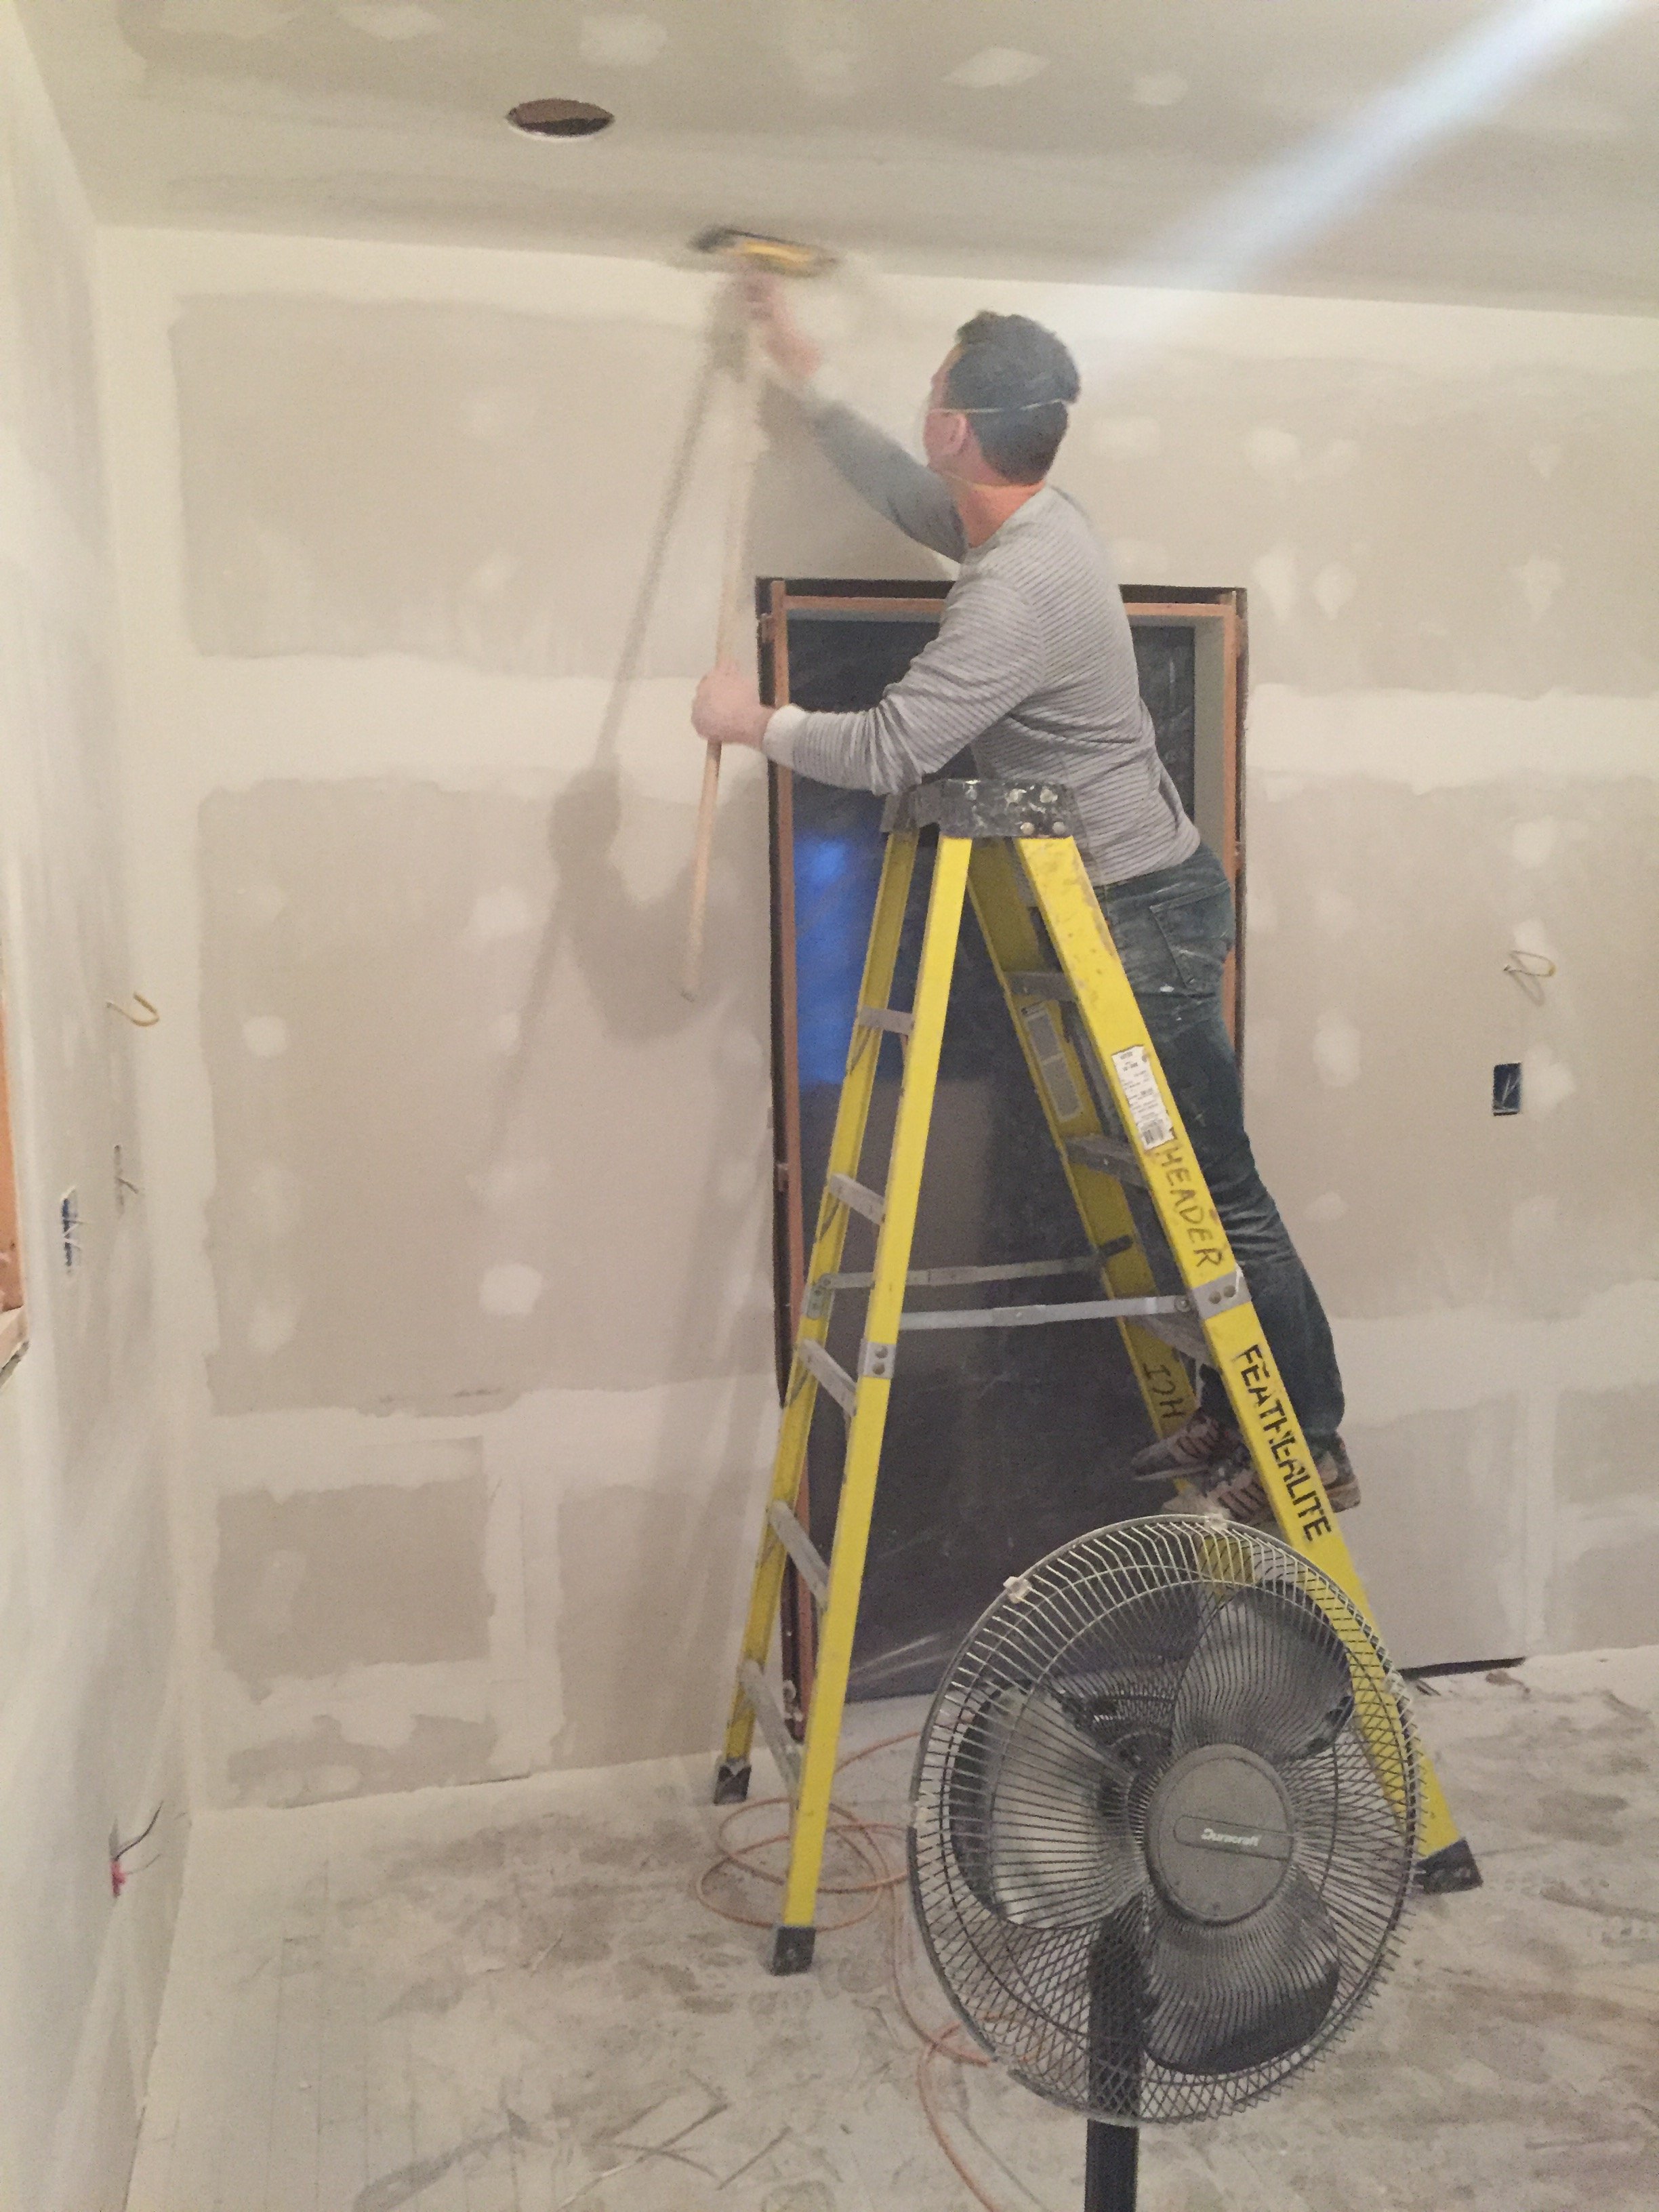
The entire process was full of long days, late nights, 700 million trips to Home Depot, and the DUST— omg, the dust! It was a ton of work to do this ourselves, as a small crew, but it was fun to experience the full start-to-finish. This never would have happened without my amazing father in law as our contractor, and without he and Jim working their butts off for weeks on end. There were a lot of little problems to solve along the way, and they left no stone unturned—for which I'm so grateful.
The 'before' photos look even more shocking now that the new space is done. I look back and can't believe we made it work for as long as we did. You can click through the gallery below to see the before photos!
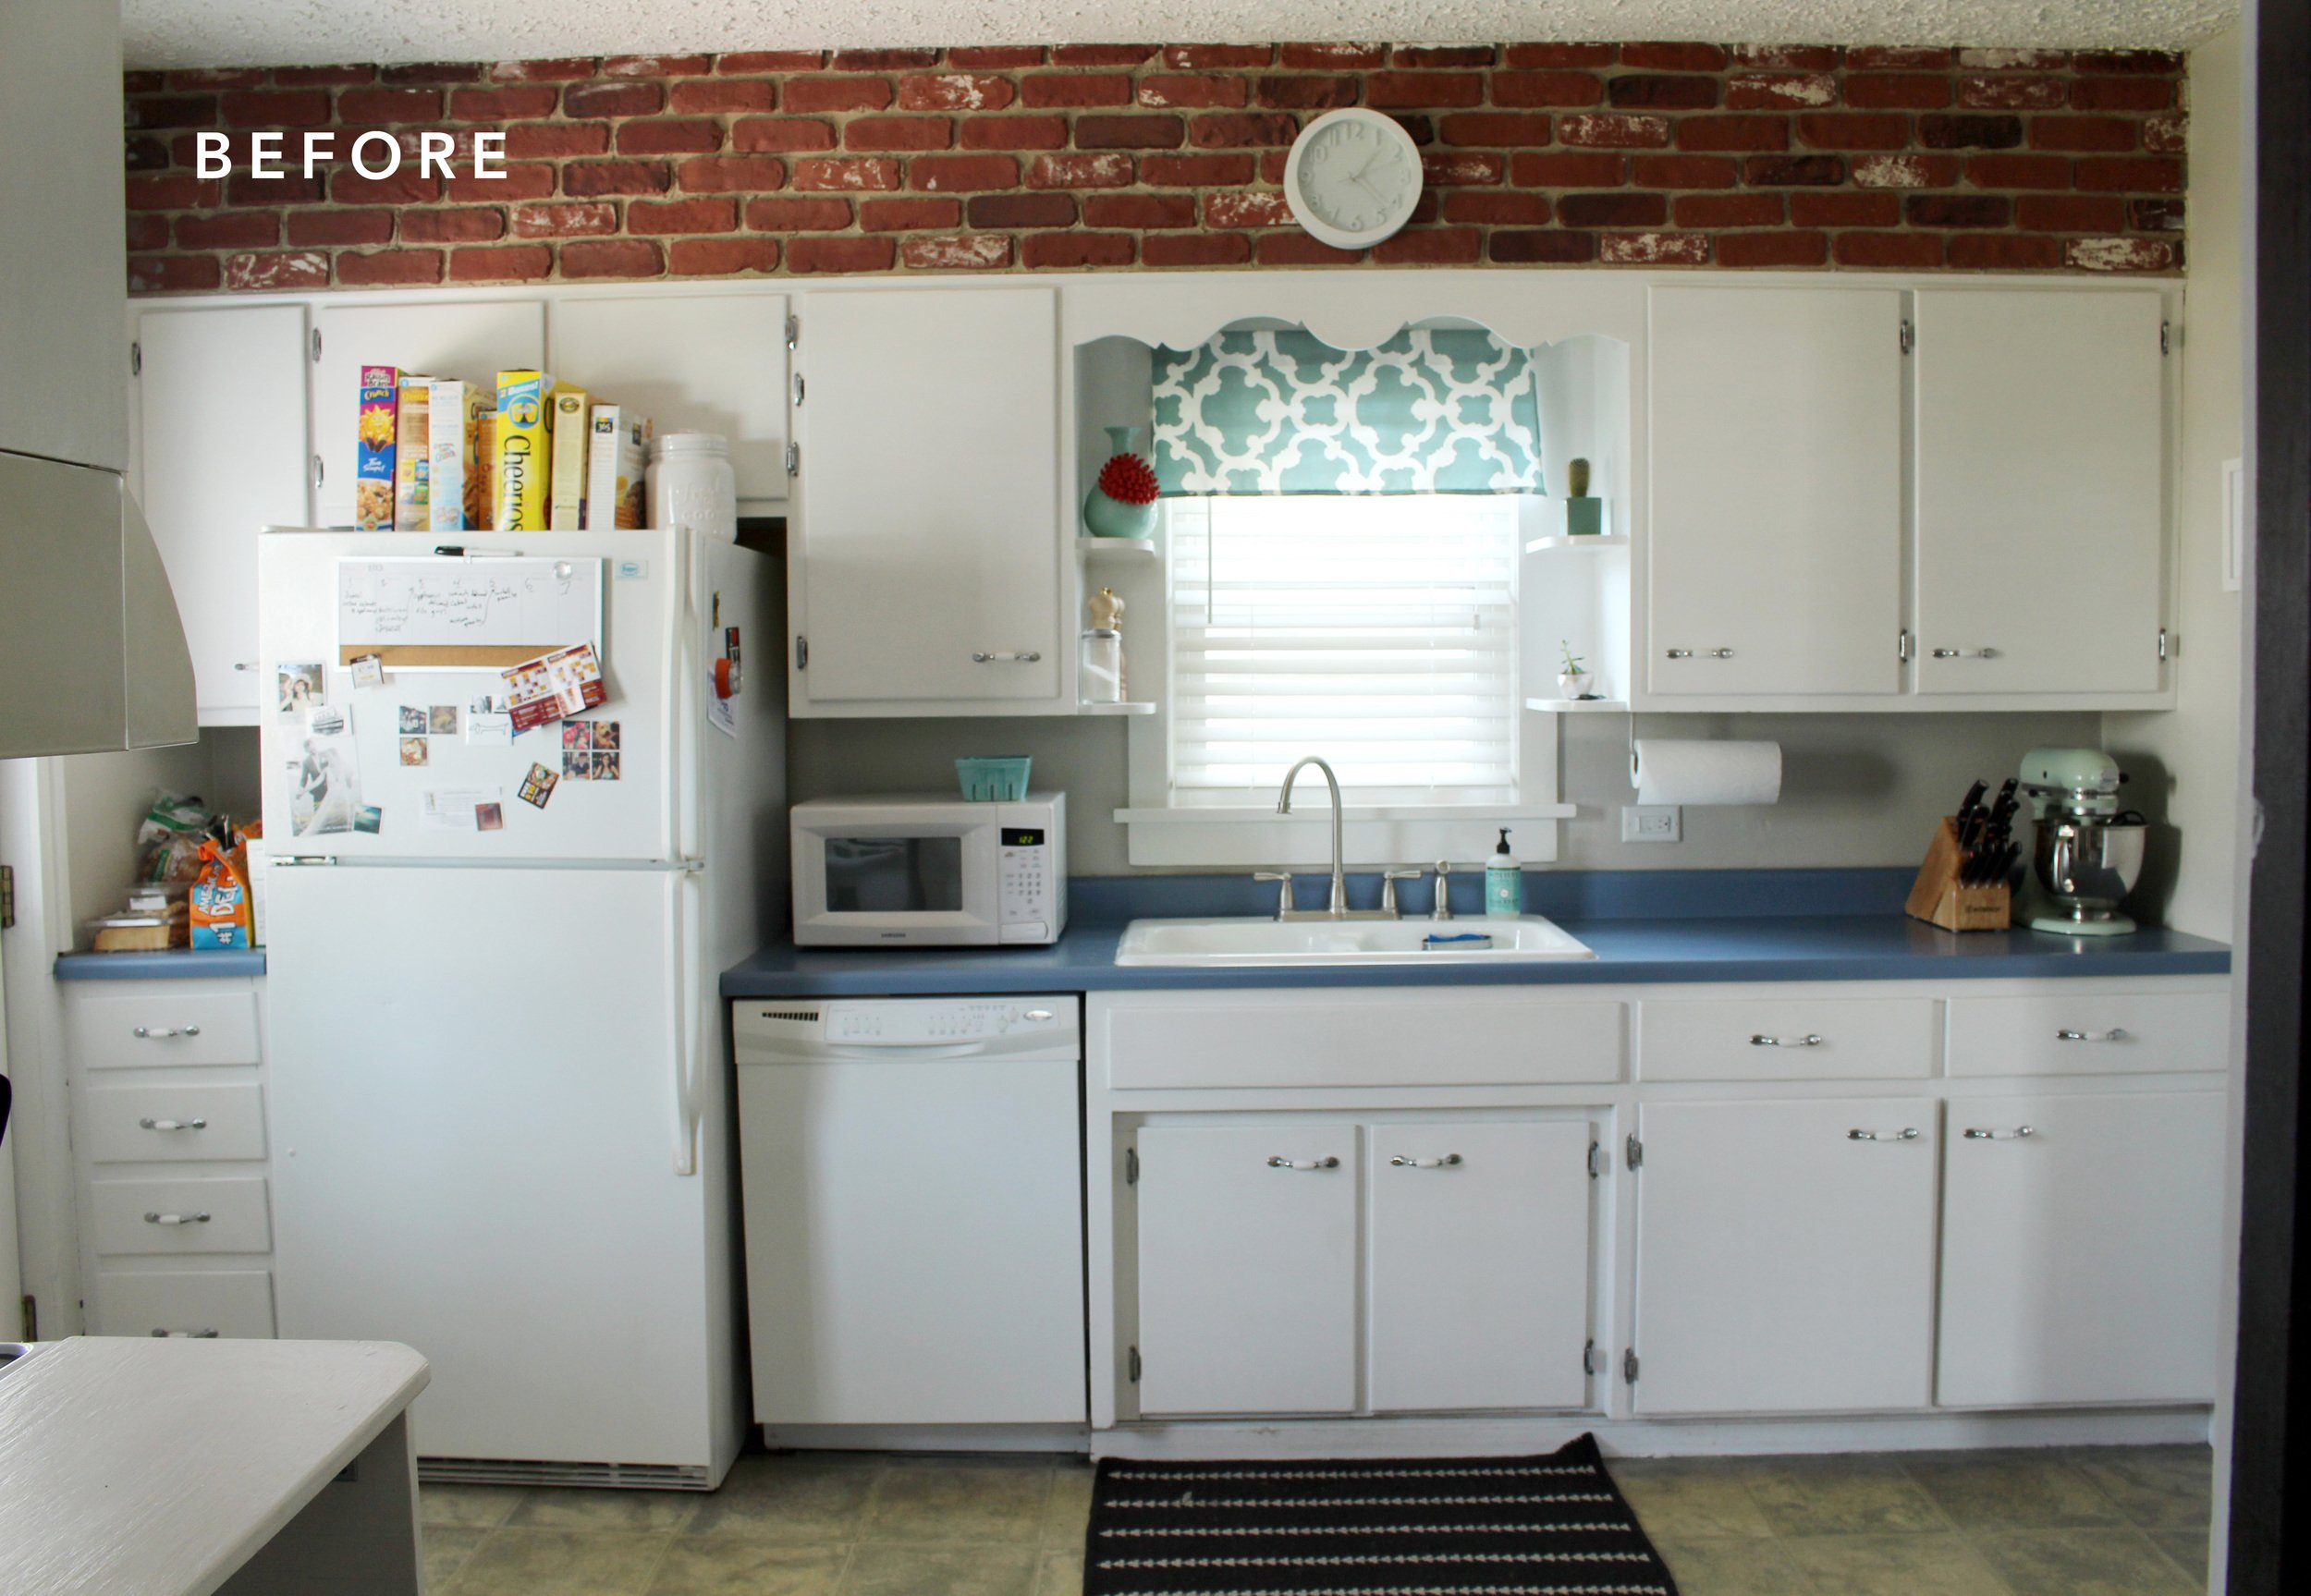
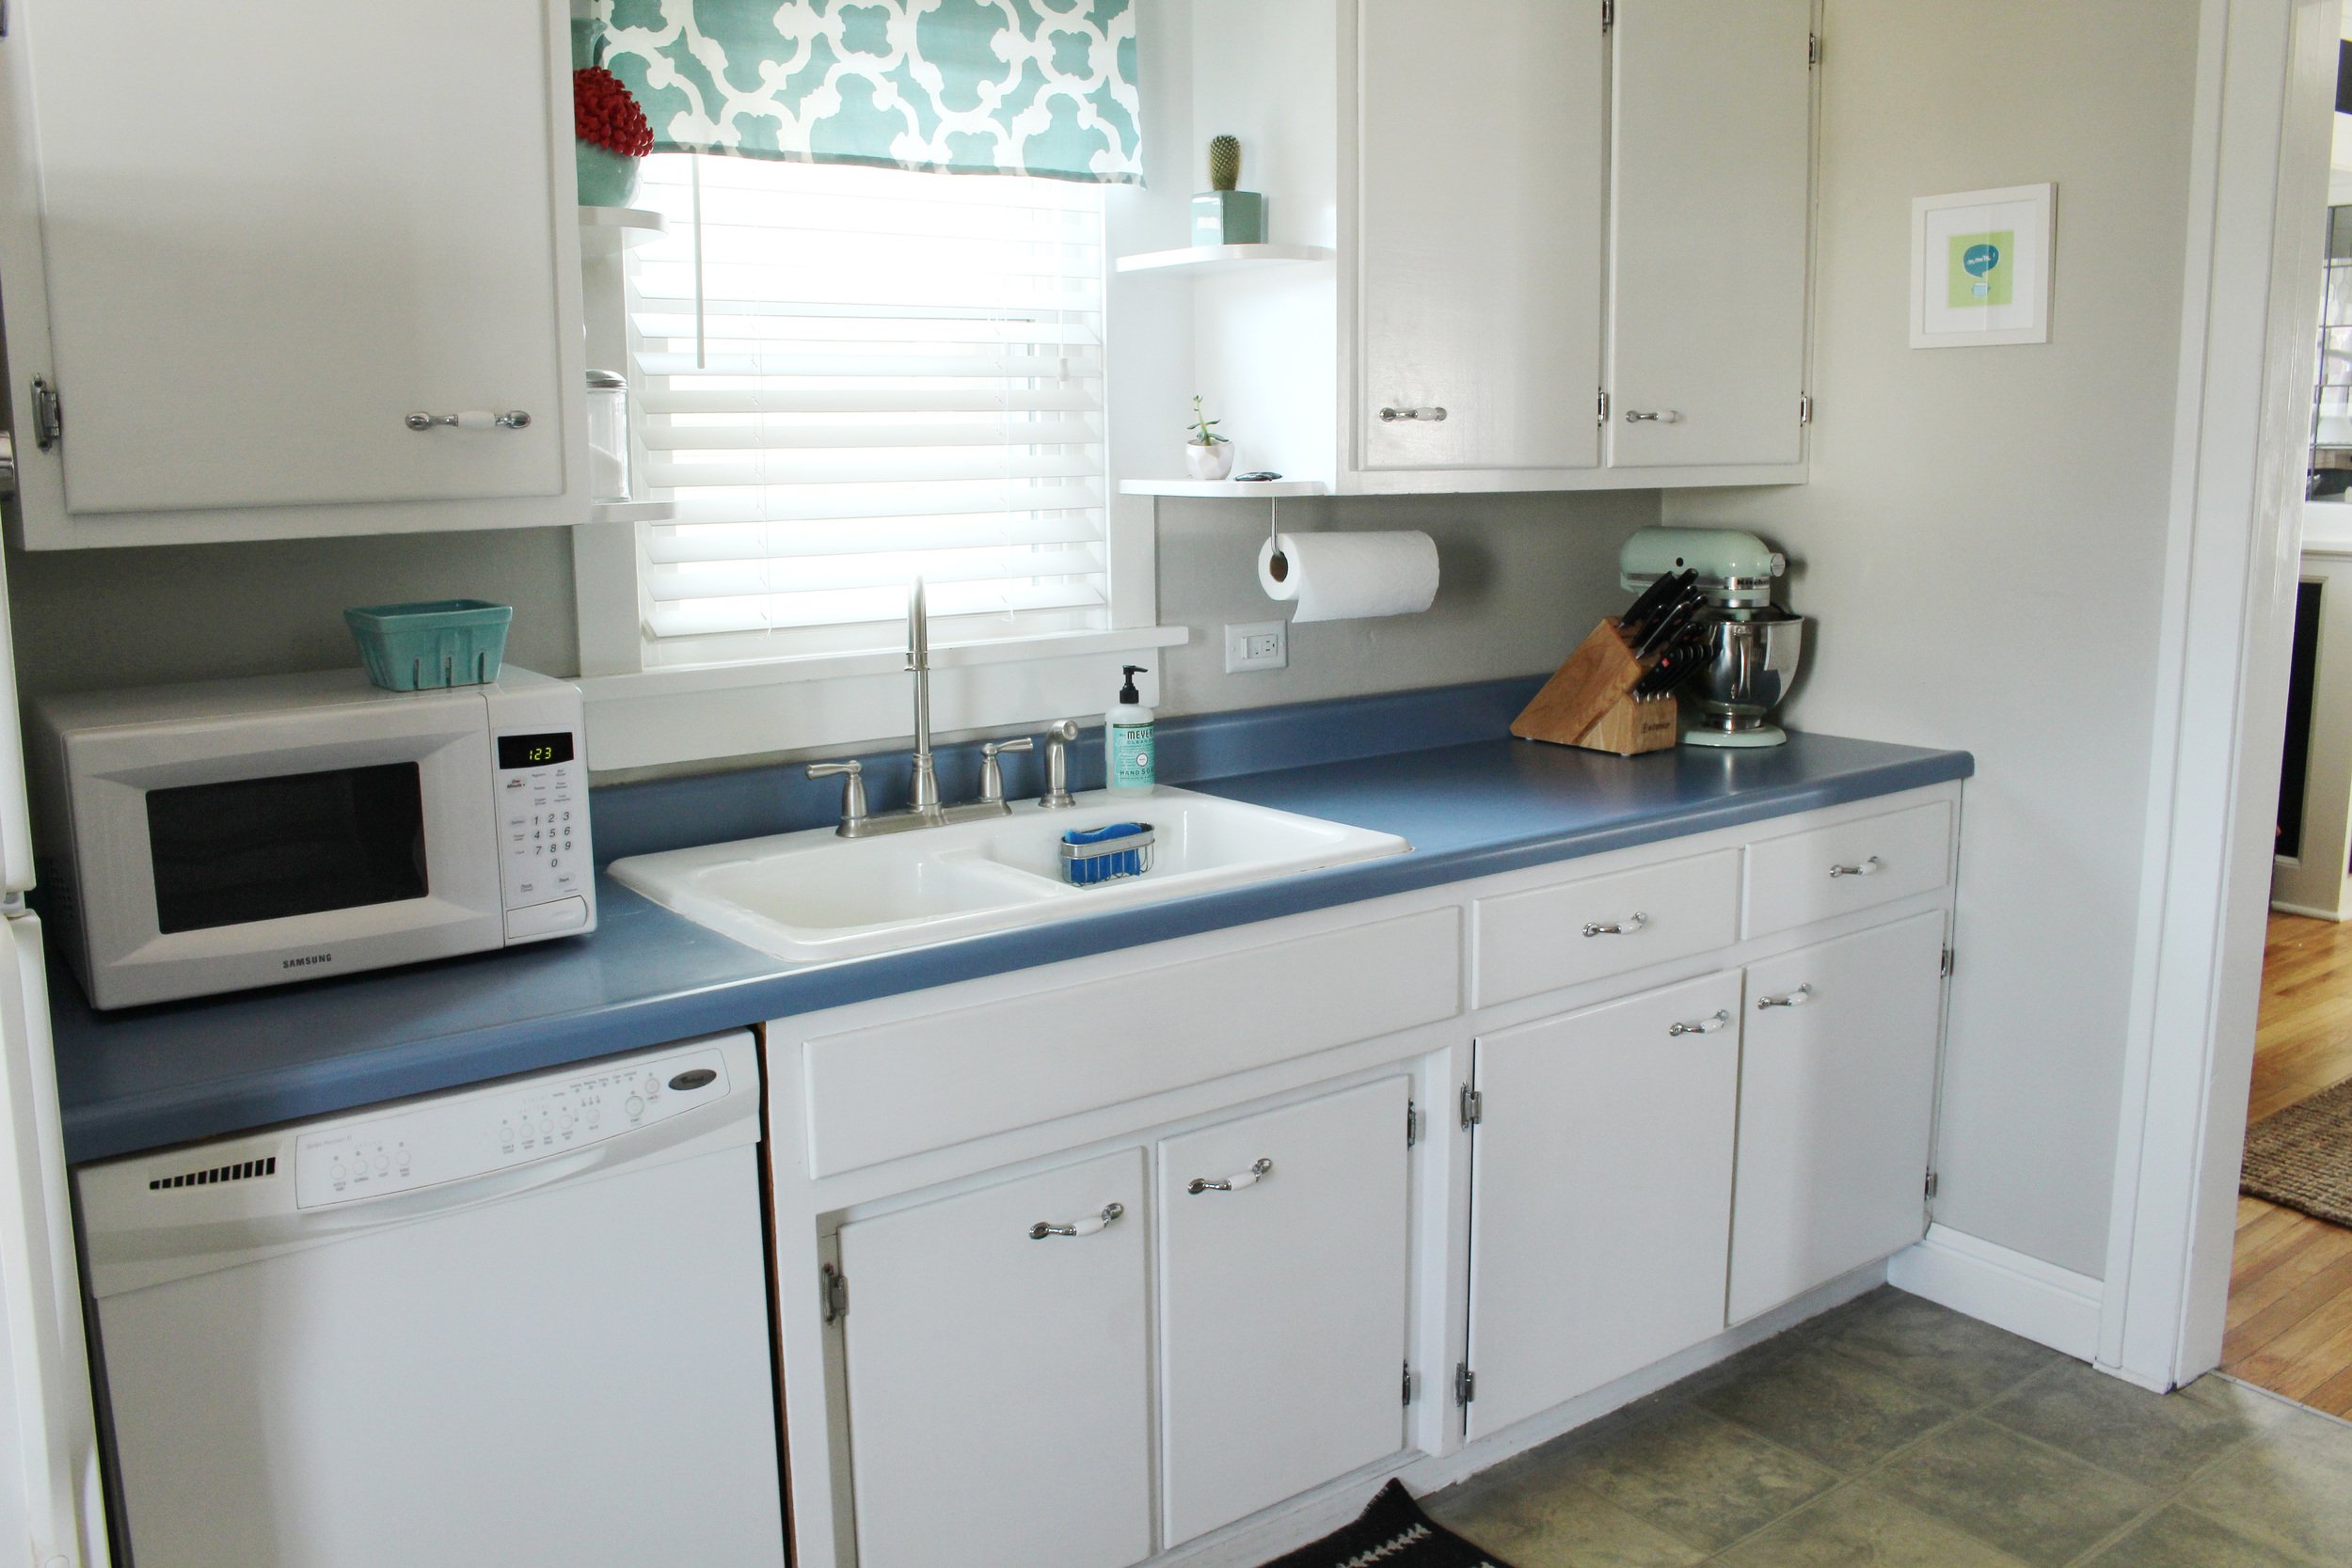


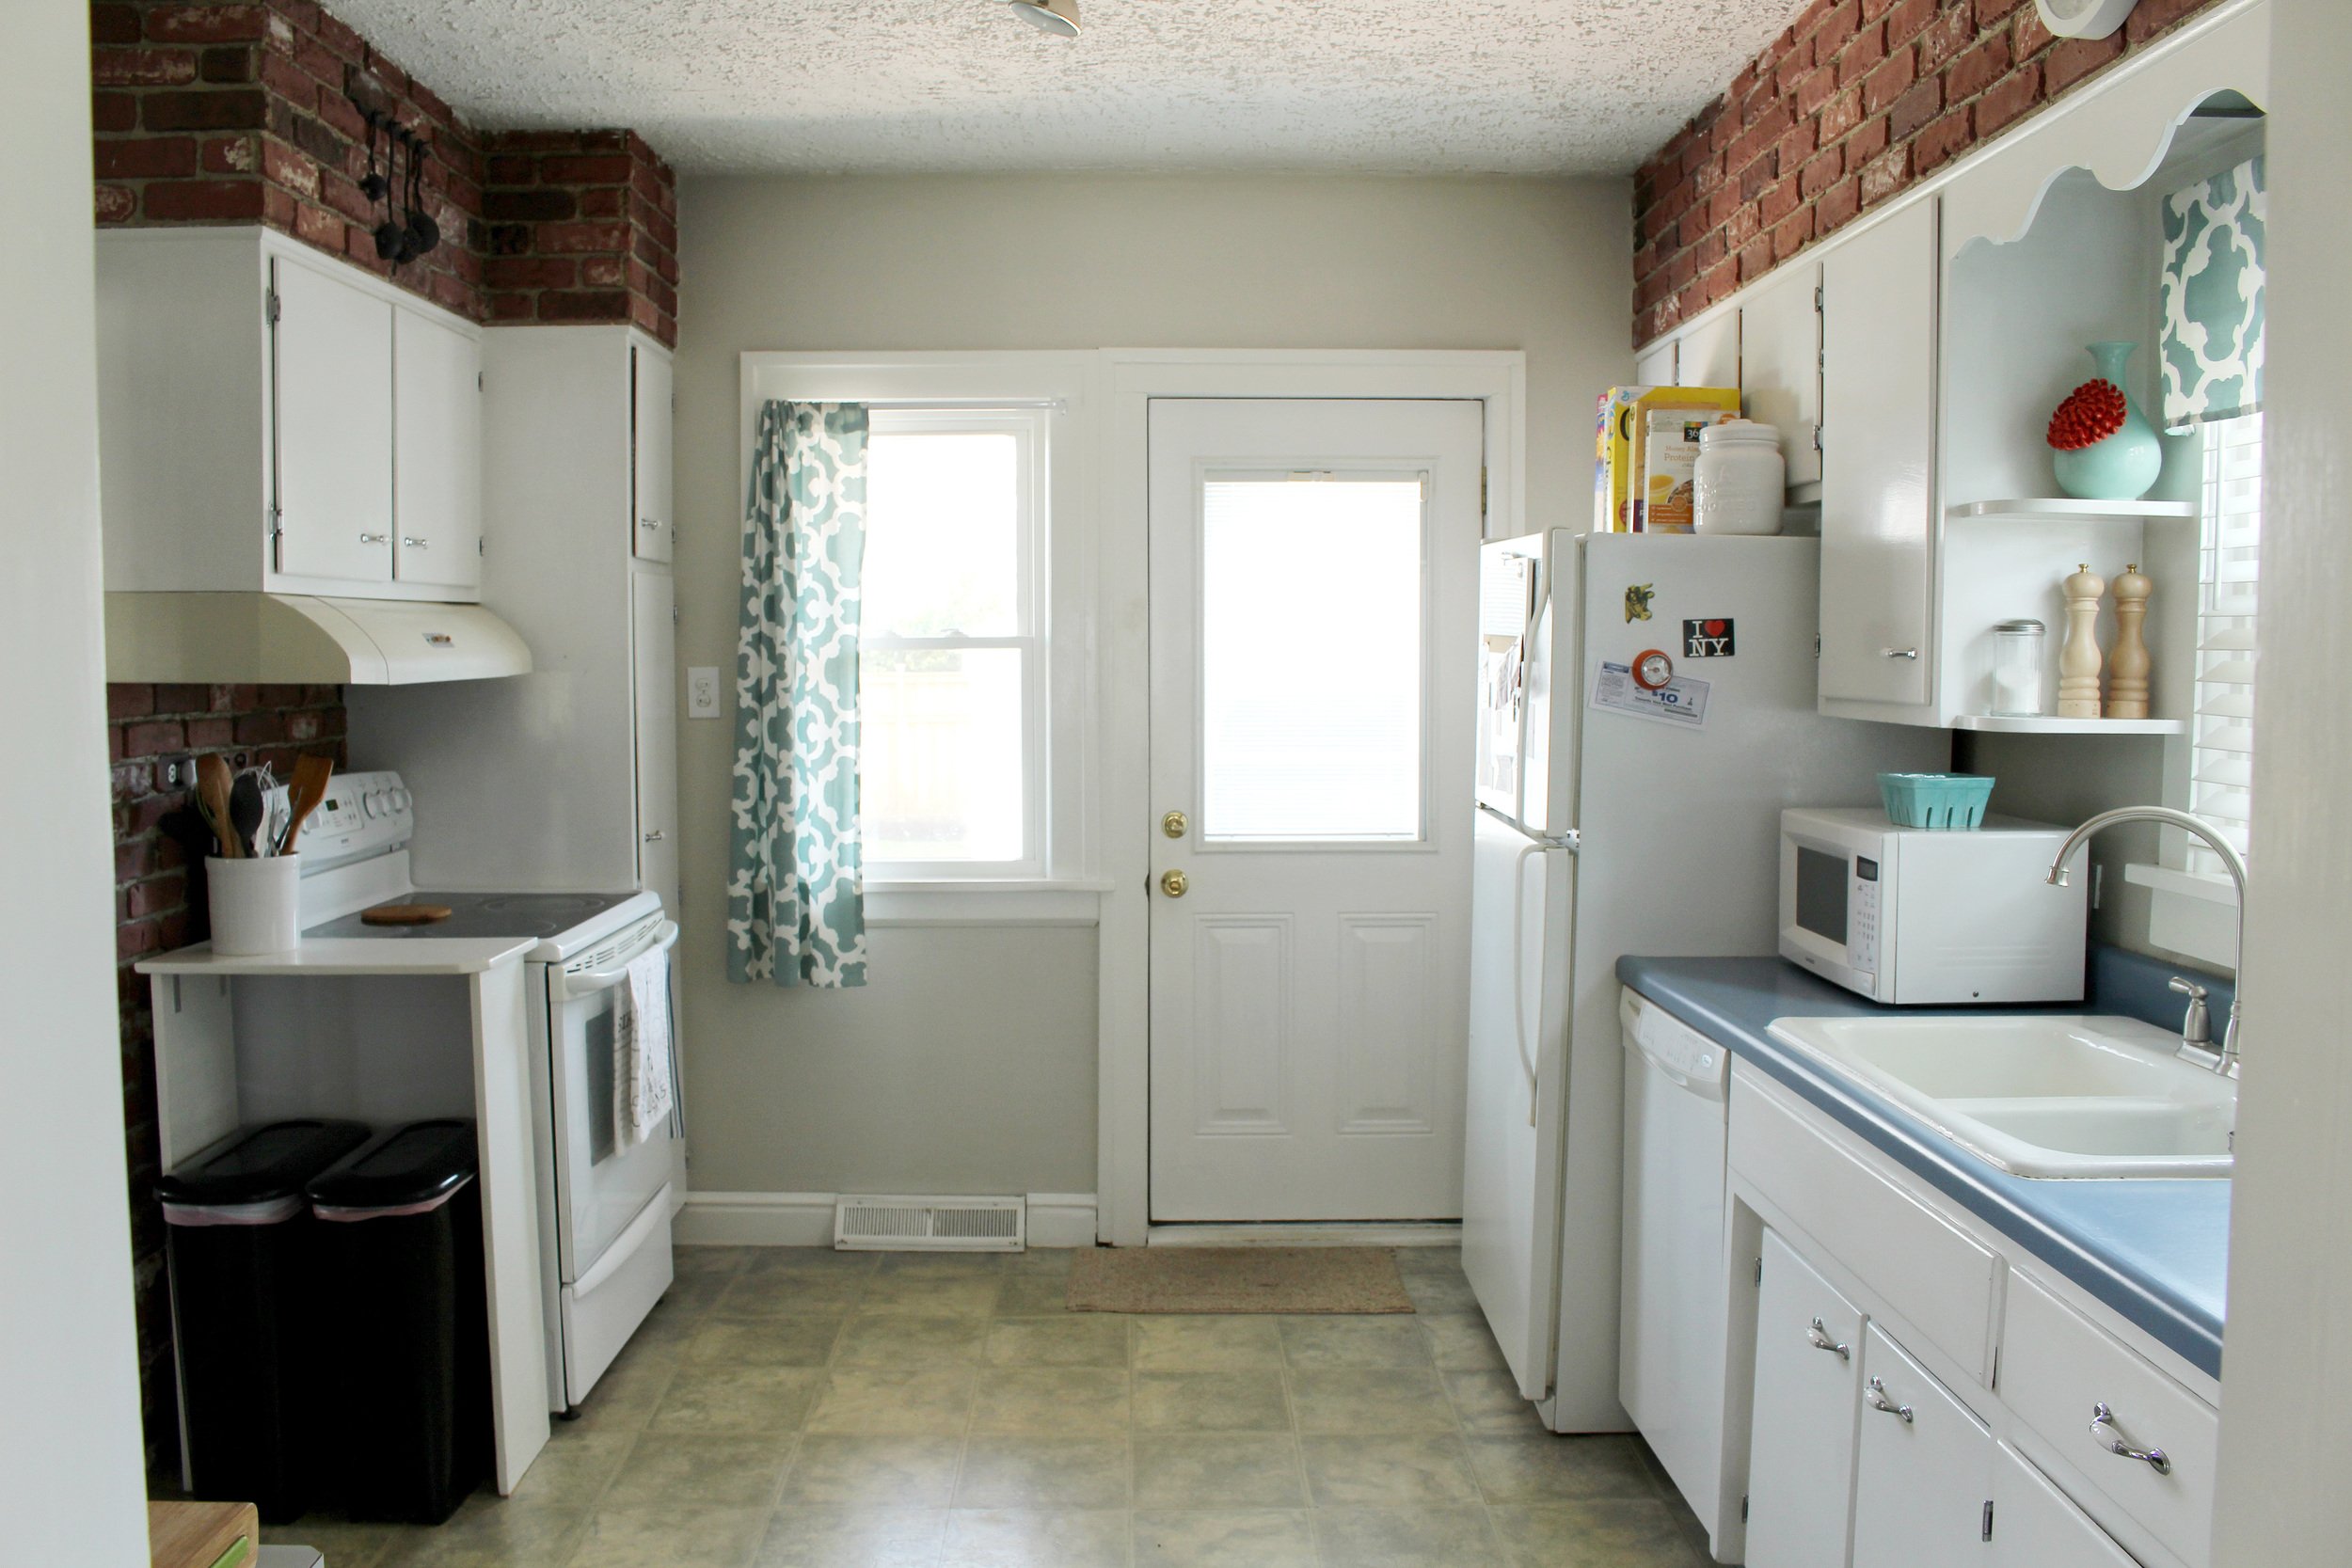
The previous kitchen was dated (blue countertops...) and lacked storage and counter space. We were bursting at the seams, as you can tell by the amount of clutter we had.
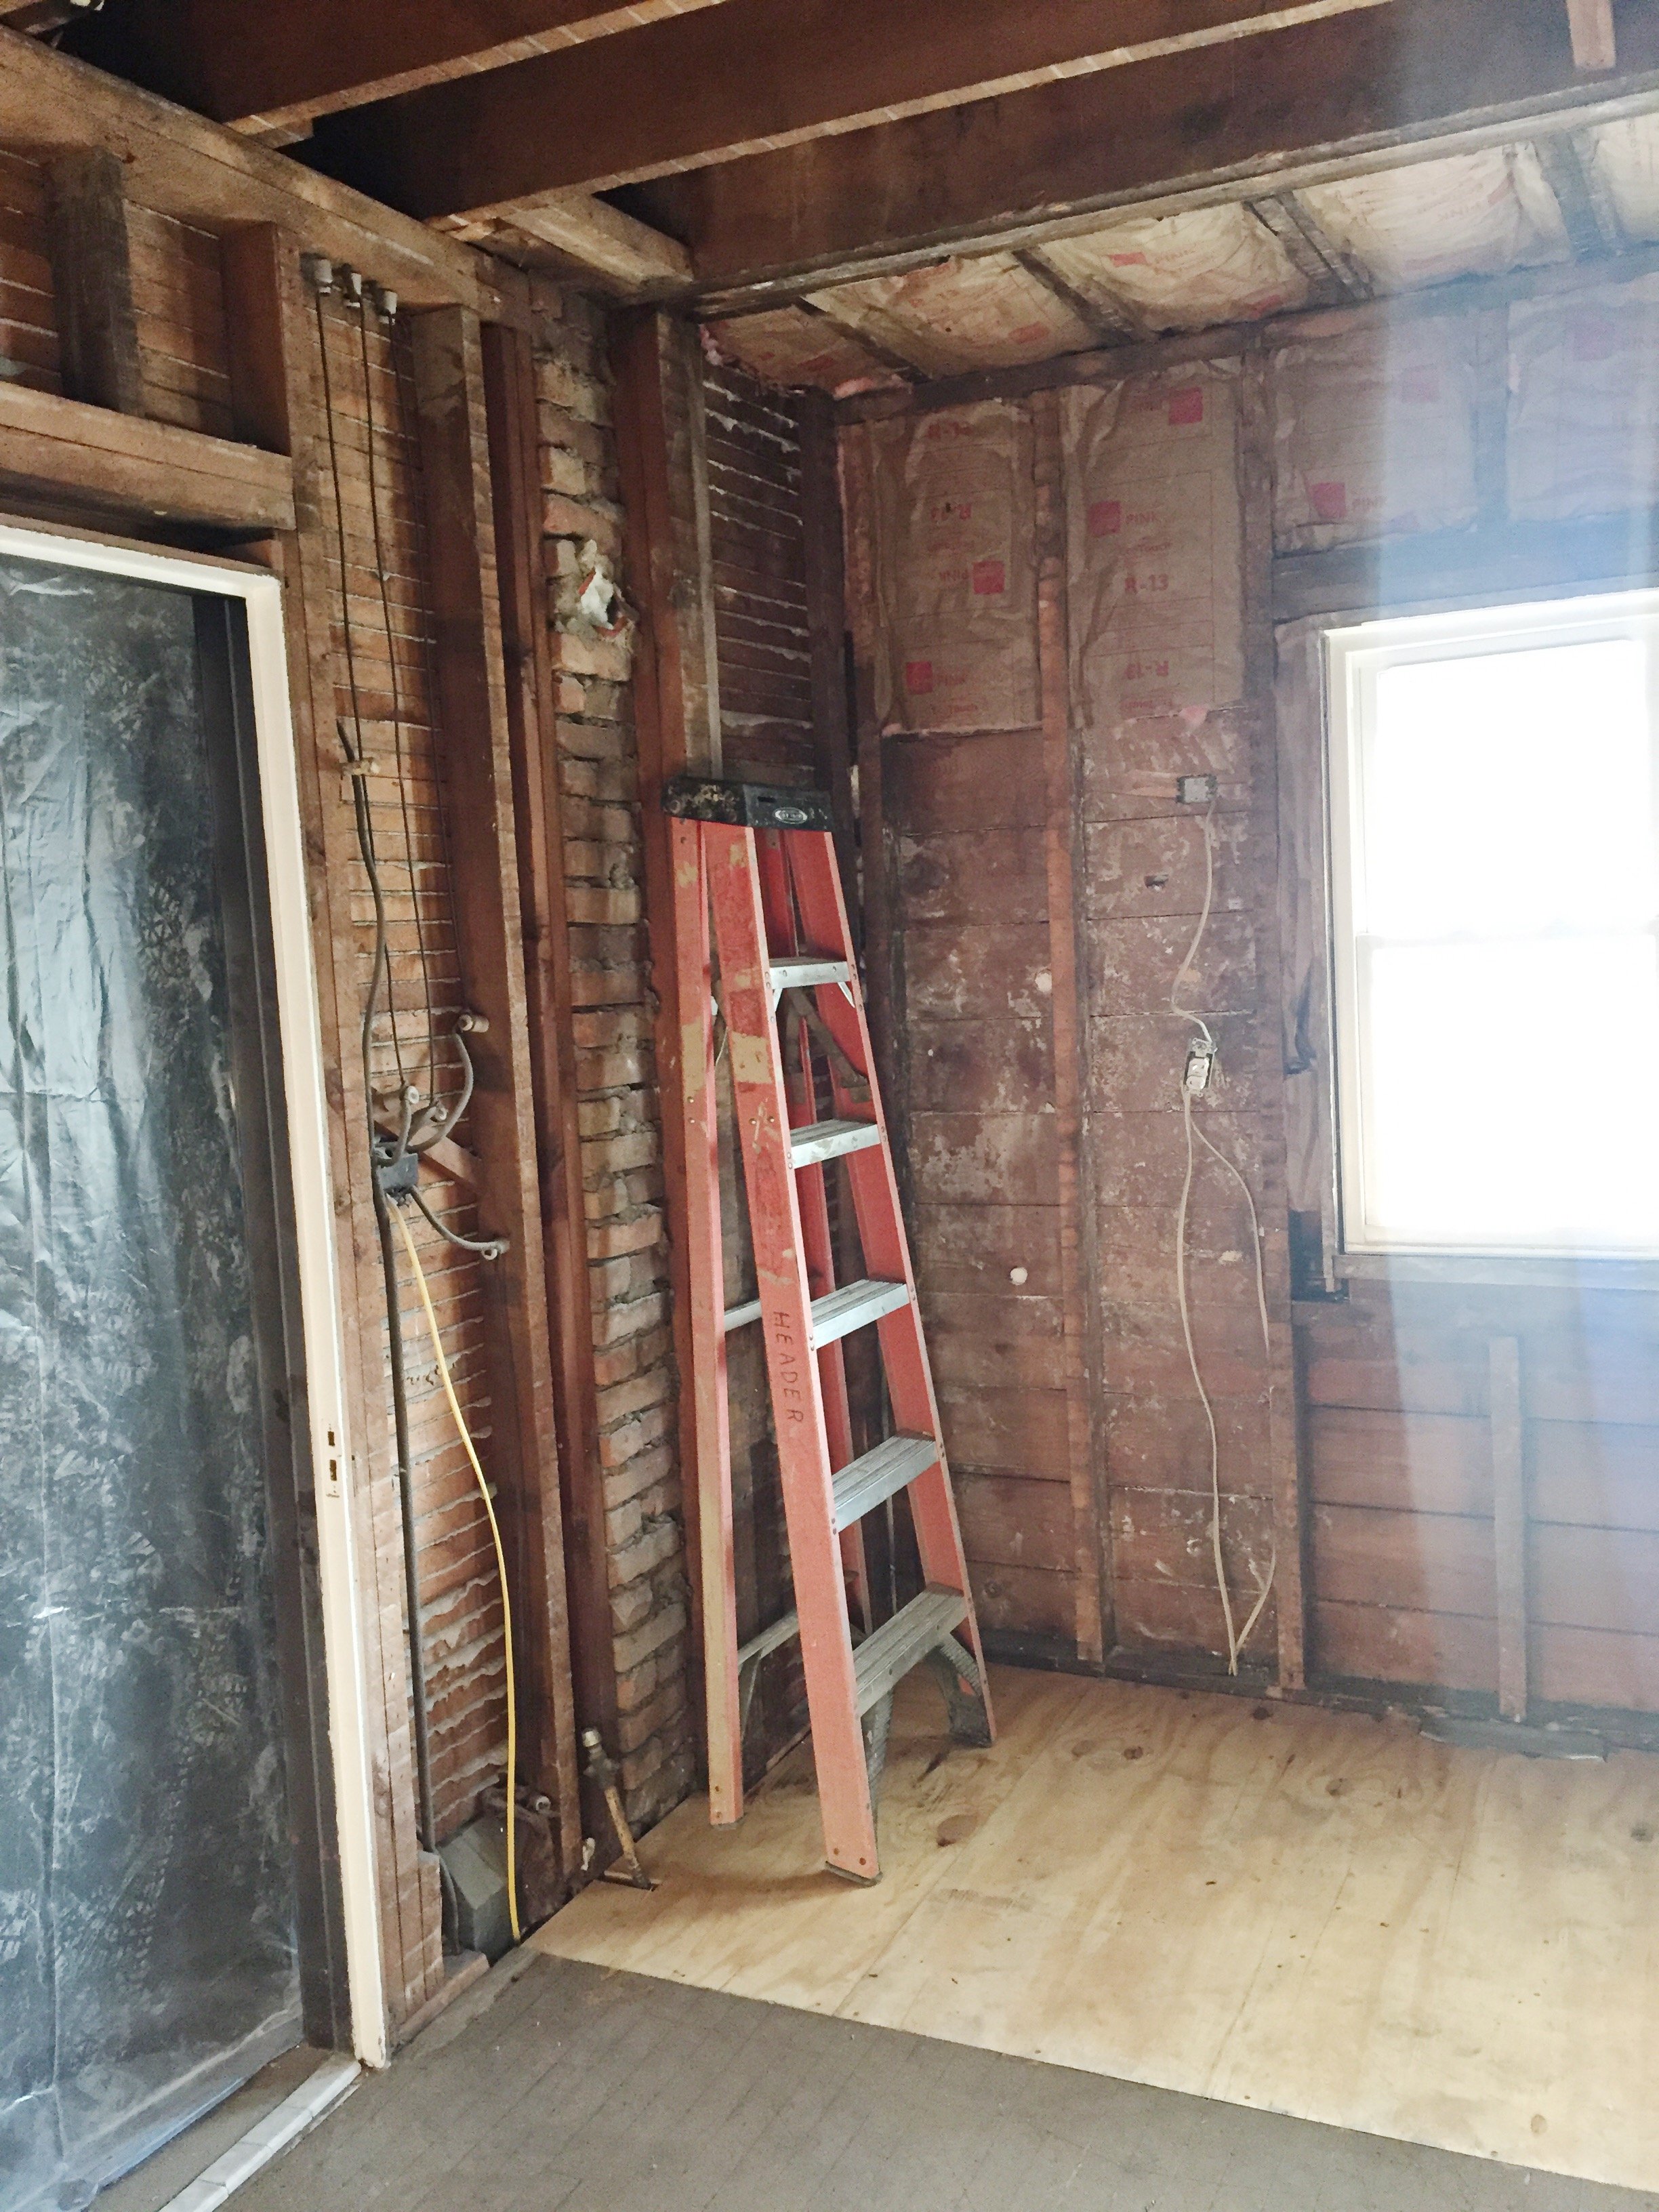
The appliances were in awkward locations – particularly the stove – so a new arrangement was also in order. We moved plumbing, added gas lines, and of course all new lighting and electrical, but this was made easier by gutting the walls, ceiling, and floor down to the studs.
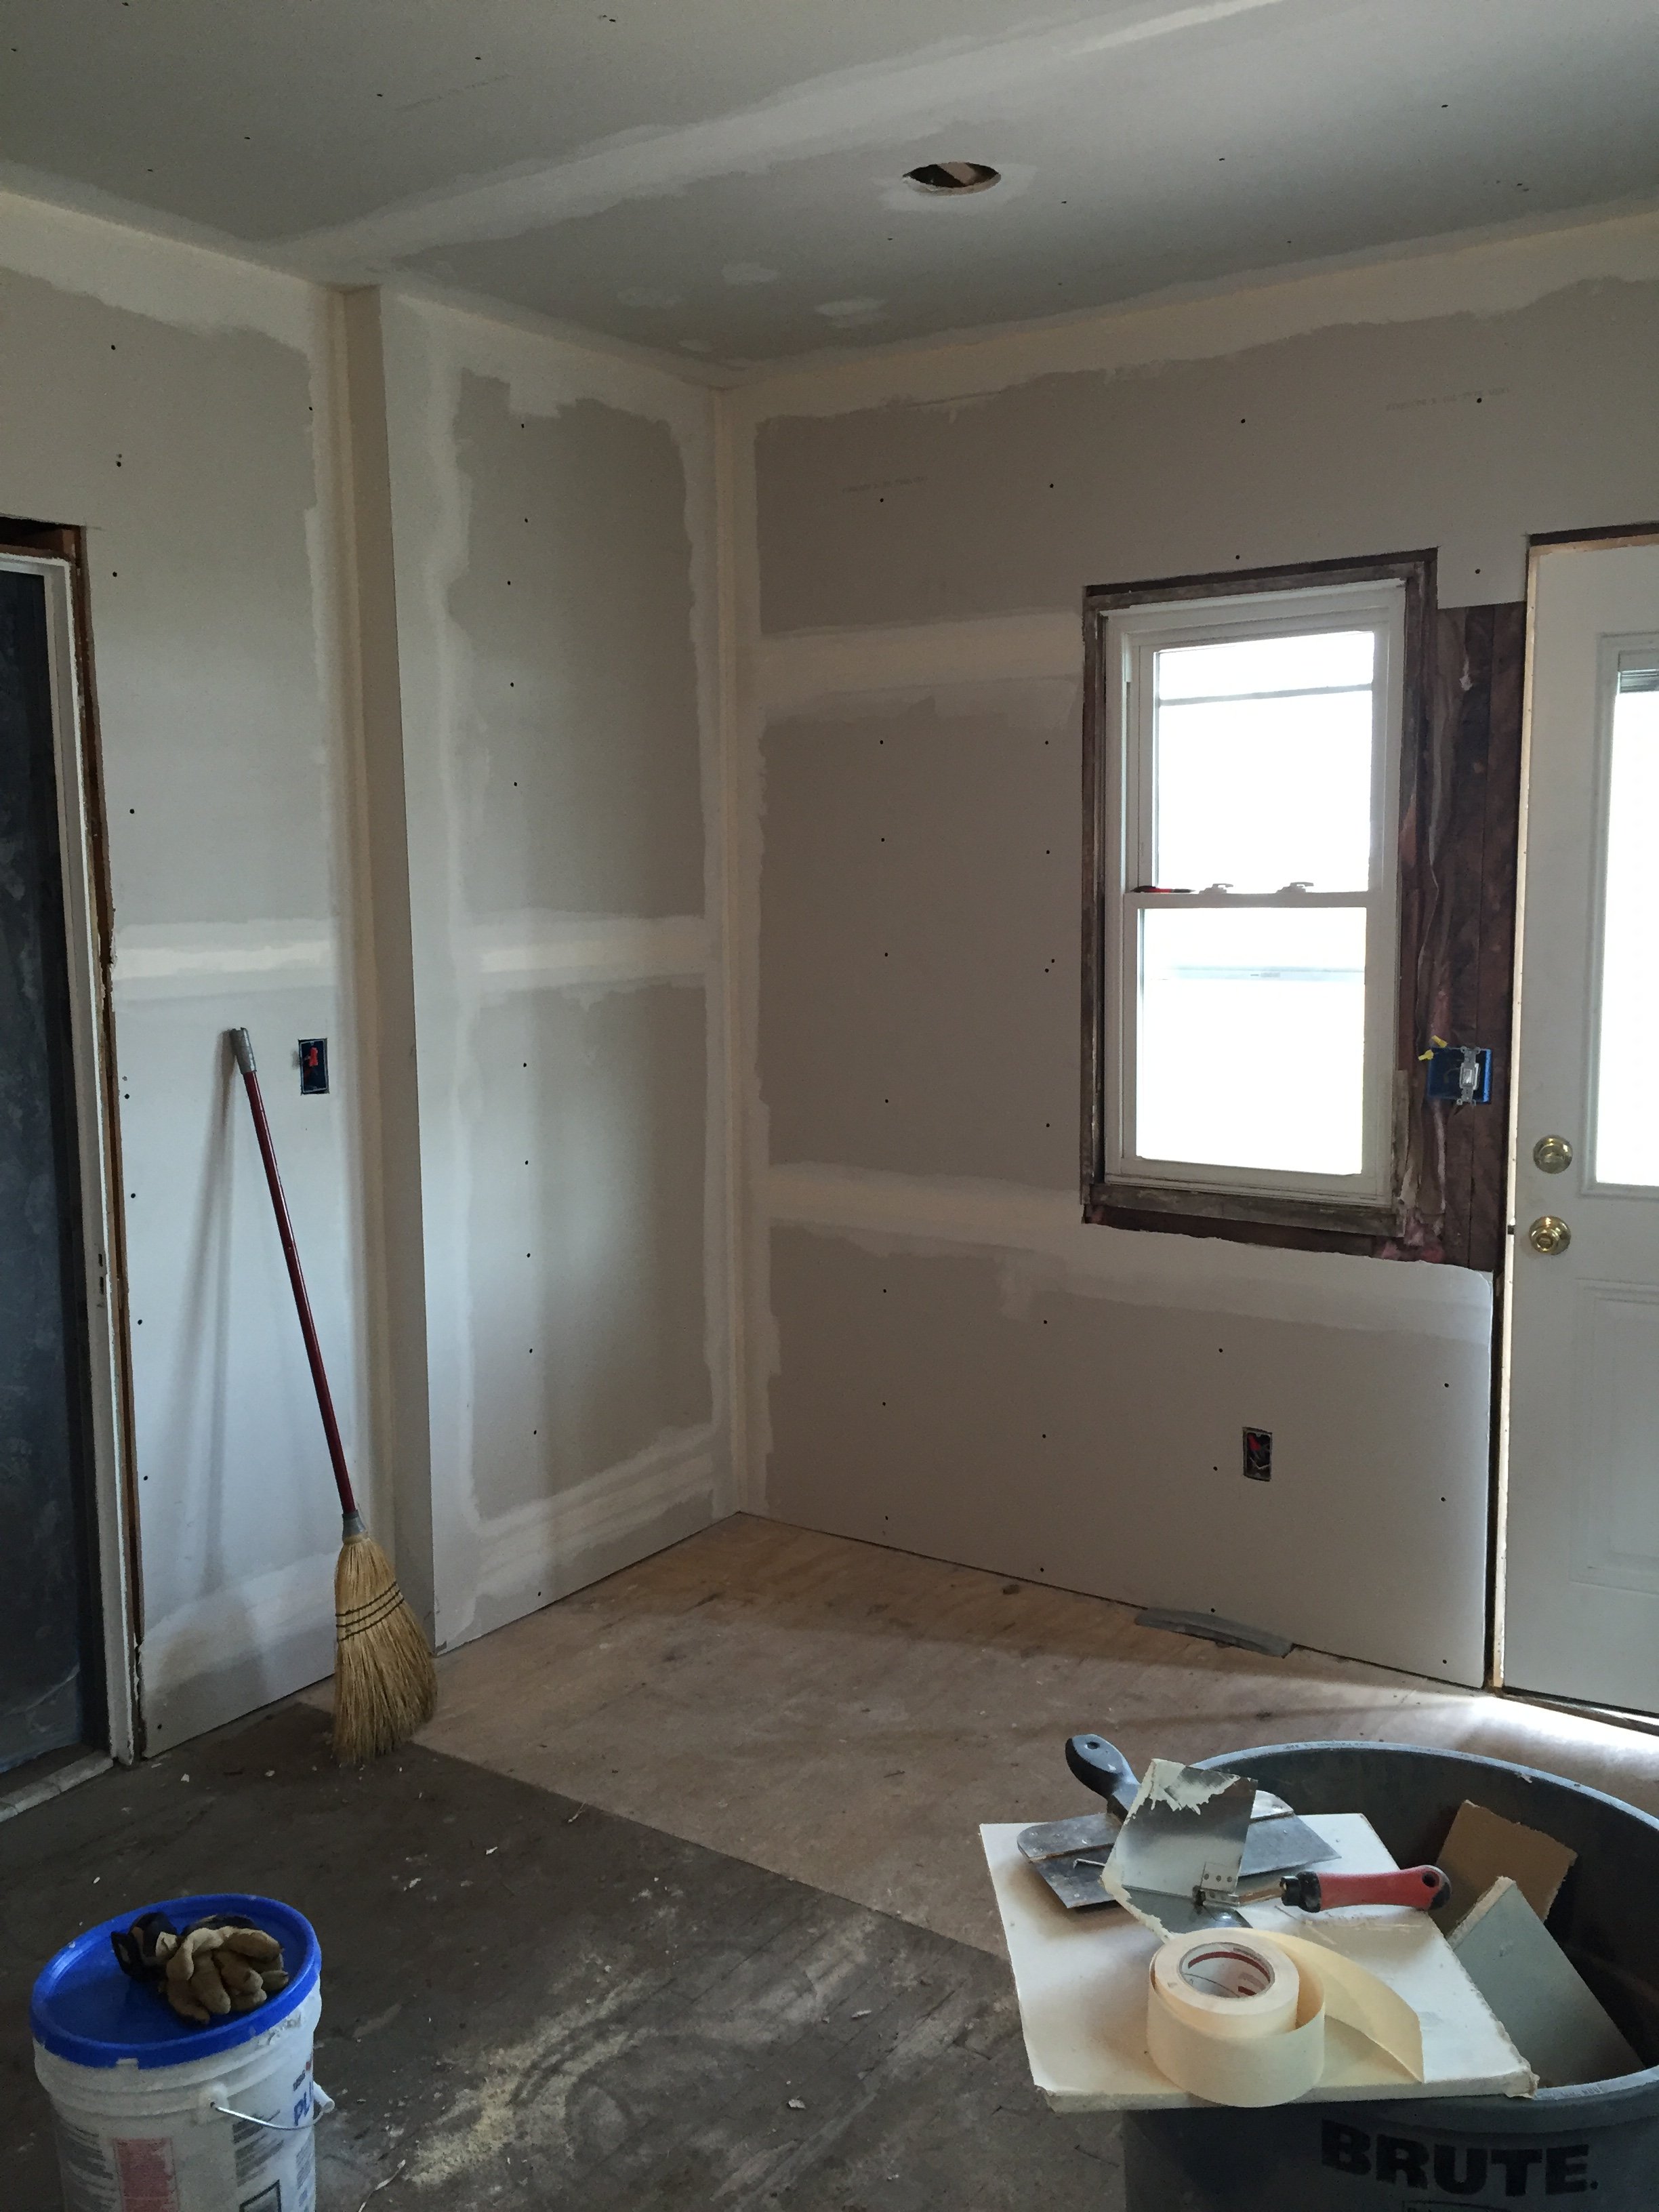
There was also a slight hump in the floor, caused by two joists that had buckled, so that was fixed and flattened out. We ripped out the soffit and faux brick facing, all the plaster, and replaced the walls and ceiling with drywall.

There's nothing more exciting (or daunting) than a clean slate. I spent a lot of time formulating ideas on how we'd redesign the kitchen when the day came. I've always been a sucker for classic white kitchens, so I based our design decisions with that aesthetic in mind. We wanted a bright, modern space with just enough timeless elements to keep it suitable for our 97 year old home.
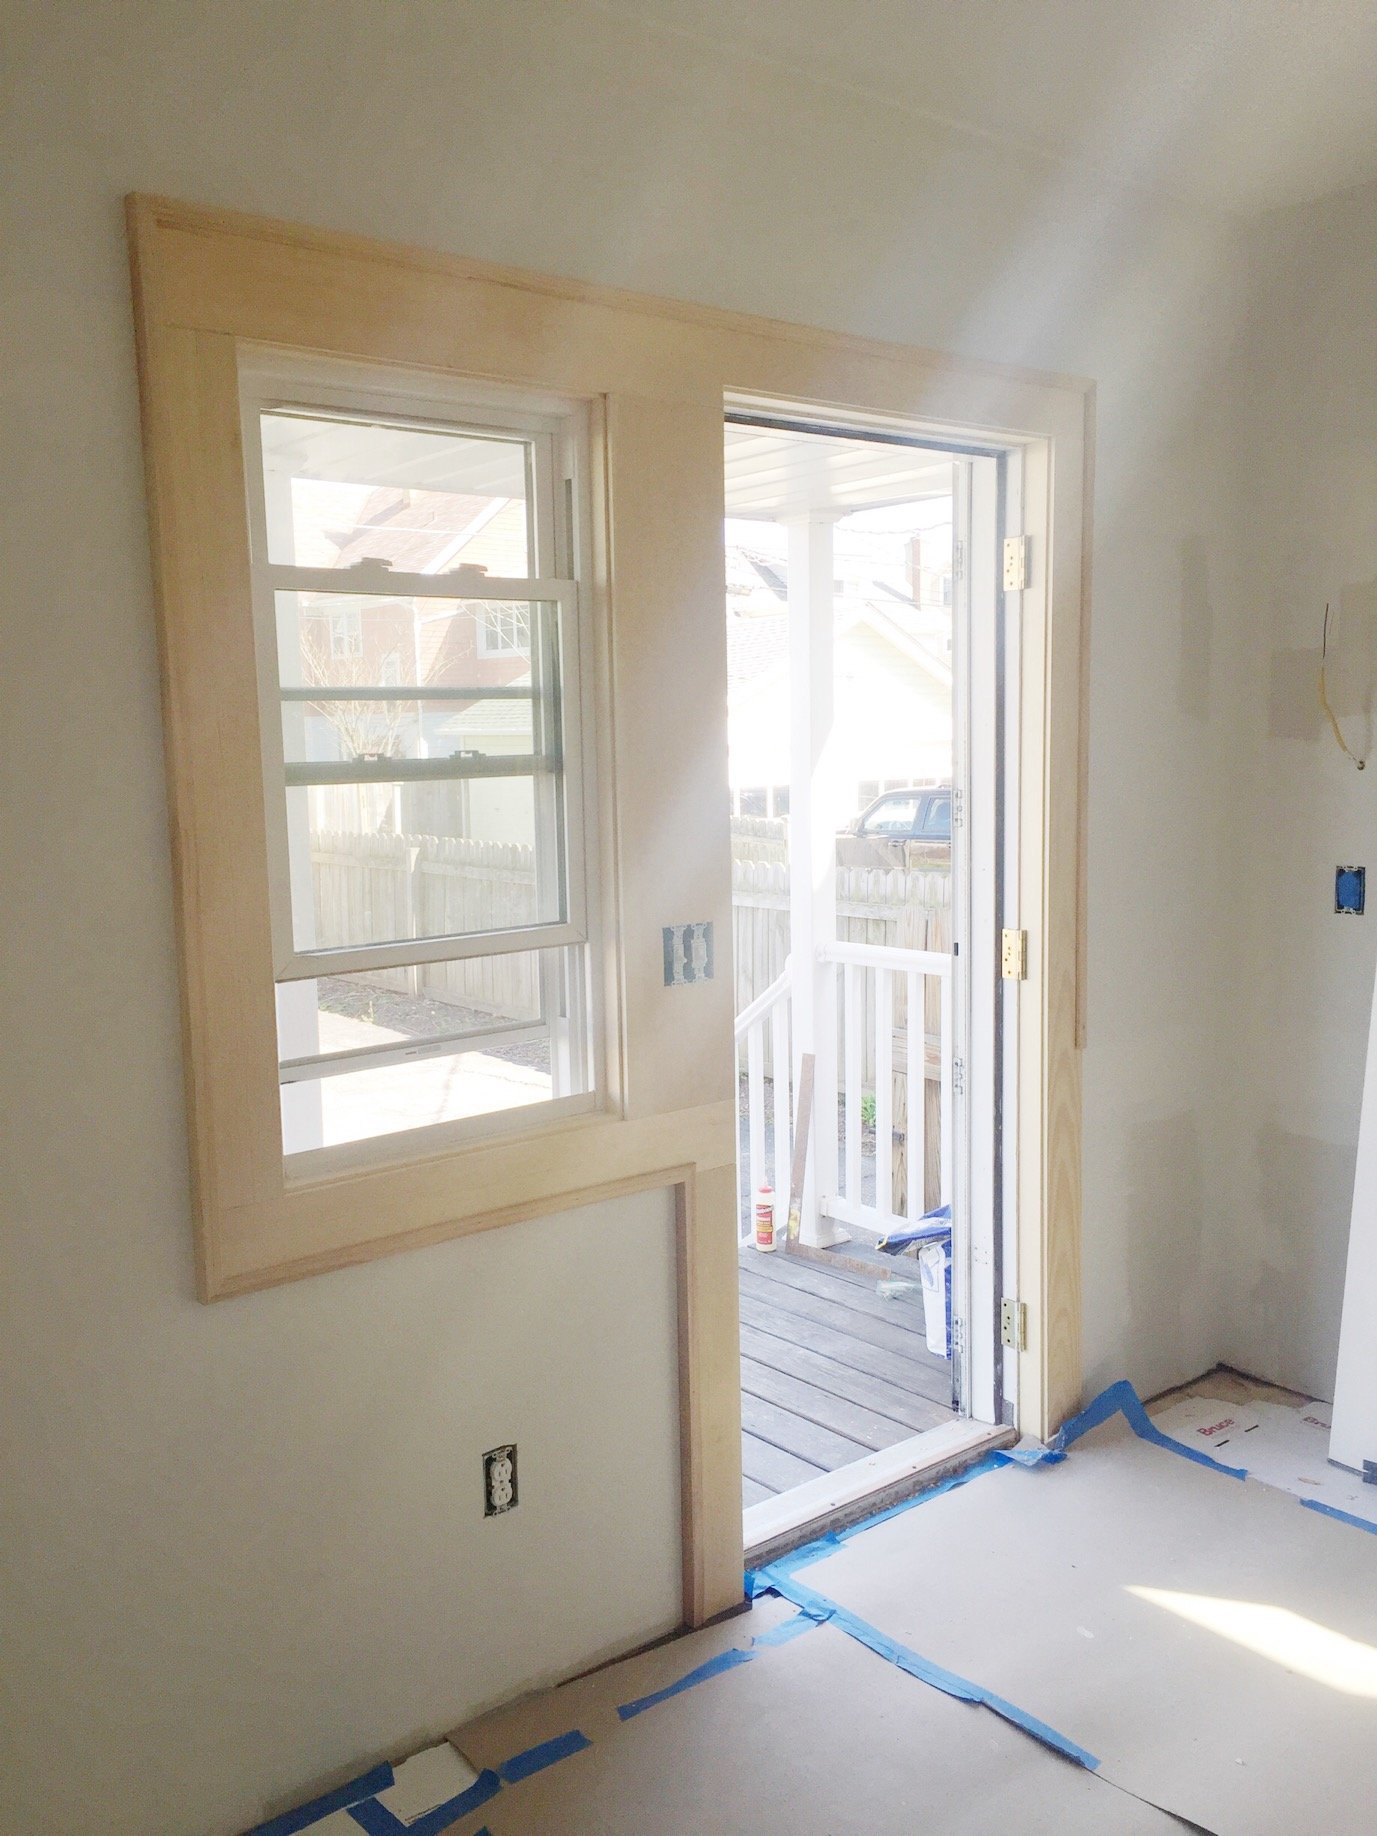
Hardwood floors replaced the old linoleum, and feel natural to the house. I also loved the idea of mixing metals, so we settled on a combination of stainless steel, black iron hardware, and copper decor to add warmth.
We chose vintage inspired lighting and a subway tile backsplash with contrasting grout for a utilitarian, industrial feel. Our faucet reflected that as well – the designers were inspired by vintage plumbing when they created it.


Our slide-in gas range has to be my favorite addition—it bakes everything evenly, particularly cookies — because cookies are life.
Another fave feature: that skinny cabinet is a pull-out spice rack, and stores all of our spices, oils, and vinegars for easy access while cooking. Actually, all of our new cabinets are my favorite—we put a ton of thoughtful storage in, with cabinets customized for storing pots and pans, baking sheets, and utensils.


Our fridge is now built into a wall of cabinetry, with a full-size pantry to the right.
We put a ventilation hood over the stove, instead of placing the microwave there. We don't use our microwave much, so putting it in such a focal location didn't make a lot of sense to us. I searched online for alternative locations, and loved the idea of building it into a base cabinet instead. This way, it doesn't take up valuable counter space, and allows room for our range hood. Win-win. So far I've loved it, it's been super convenient and it's easier to reach than above the stove.

This corner also got a major upgrade, going from literally zero cabinets to full upper and lower storage.

Choosing countertops took the longest for us—there are so many materials, patterns, and levels of durability to choose from. We were looking for a marble-like look without the high maintenance upkeep, and ended up choosing quartz from Cambria. Obsessed is an understatement—we are so extremely happy with the way our counters look, and how they've been wearing so far. The veining is subtle and not overly busy, which was what caused us to nix slab after slab of material.

Every little detail has been such an improvement—even the sheer amount of lighting that's been added has made cooking and prep time so much easier. It's always good to be able to see what you're chopping, right?
We are so right at home in our new space, loving every second of it. I still feel like I want to lock the doors for a weekend and just bake for 48 hours straight. It's truly a dream and makes our kitchen the focal point that it deserves to be.
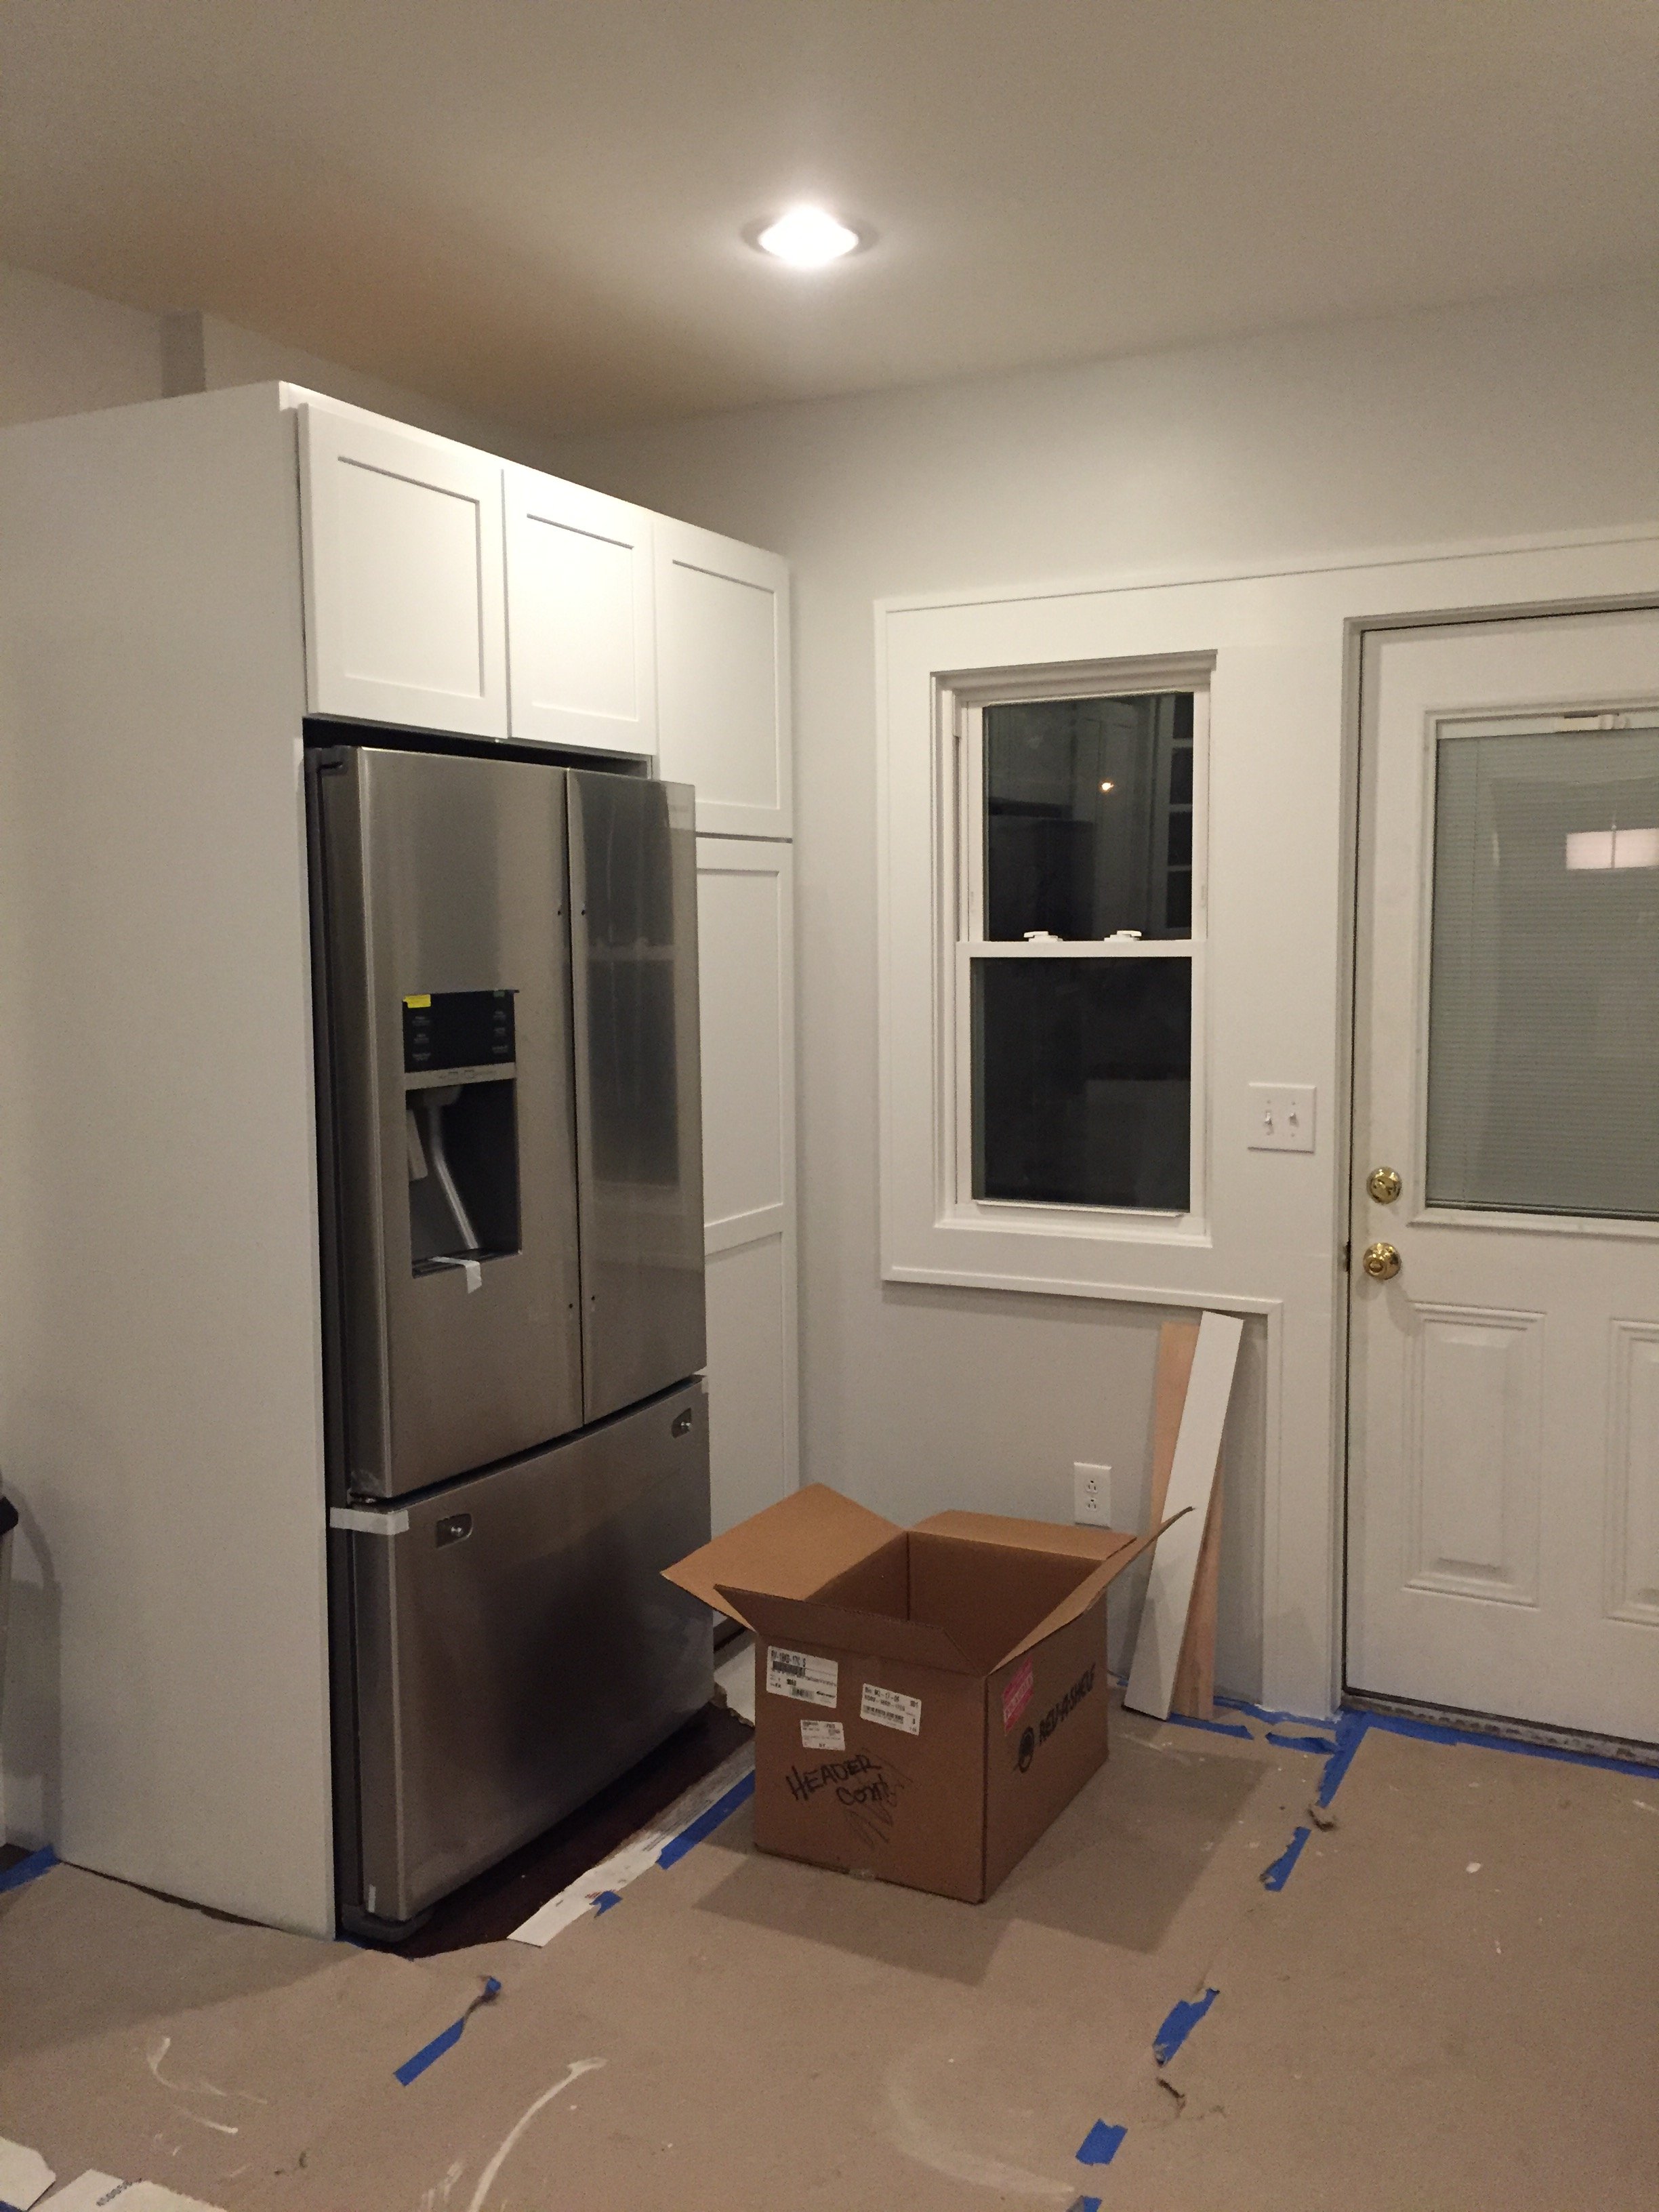
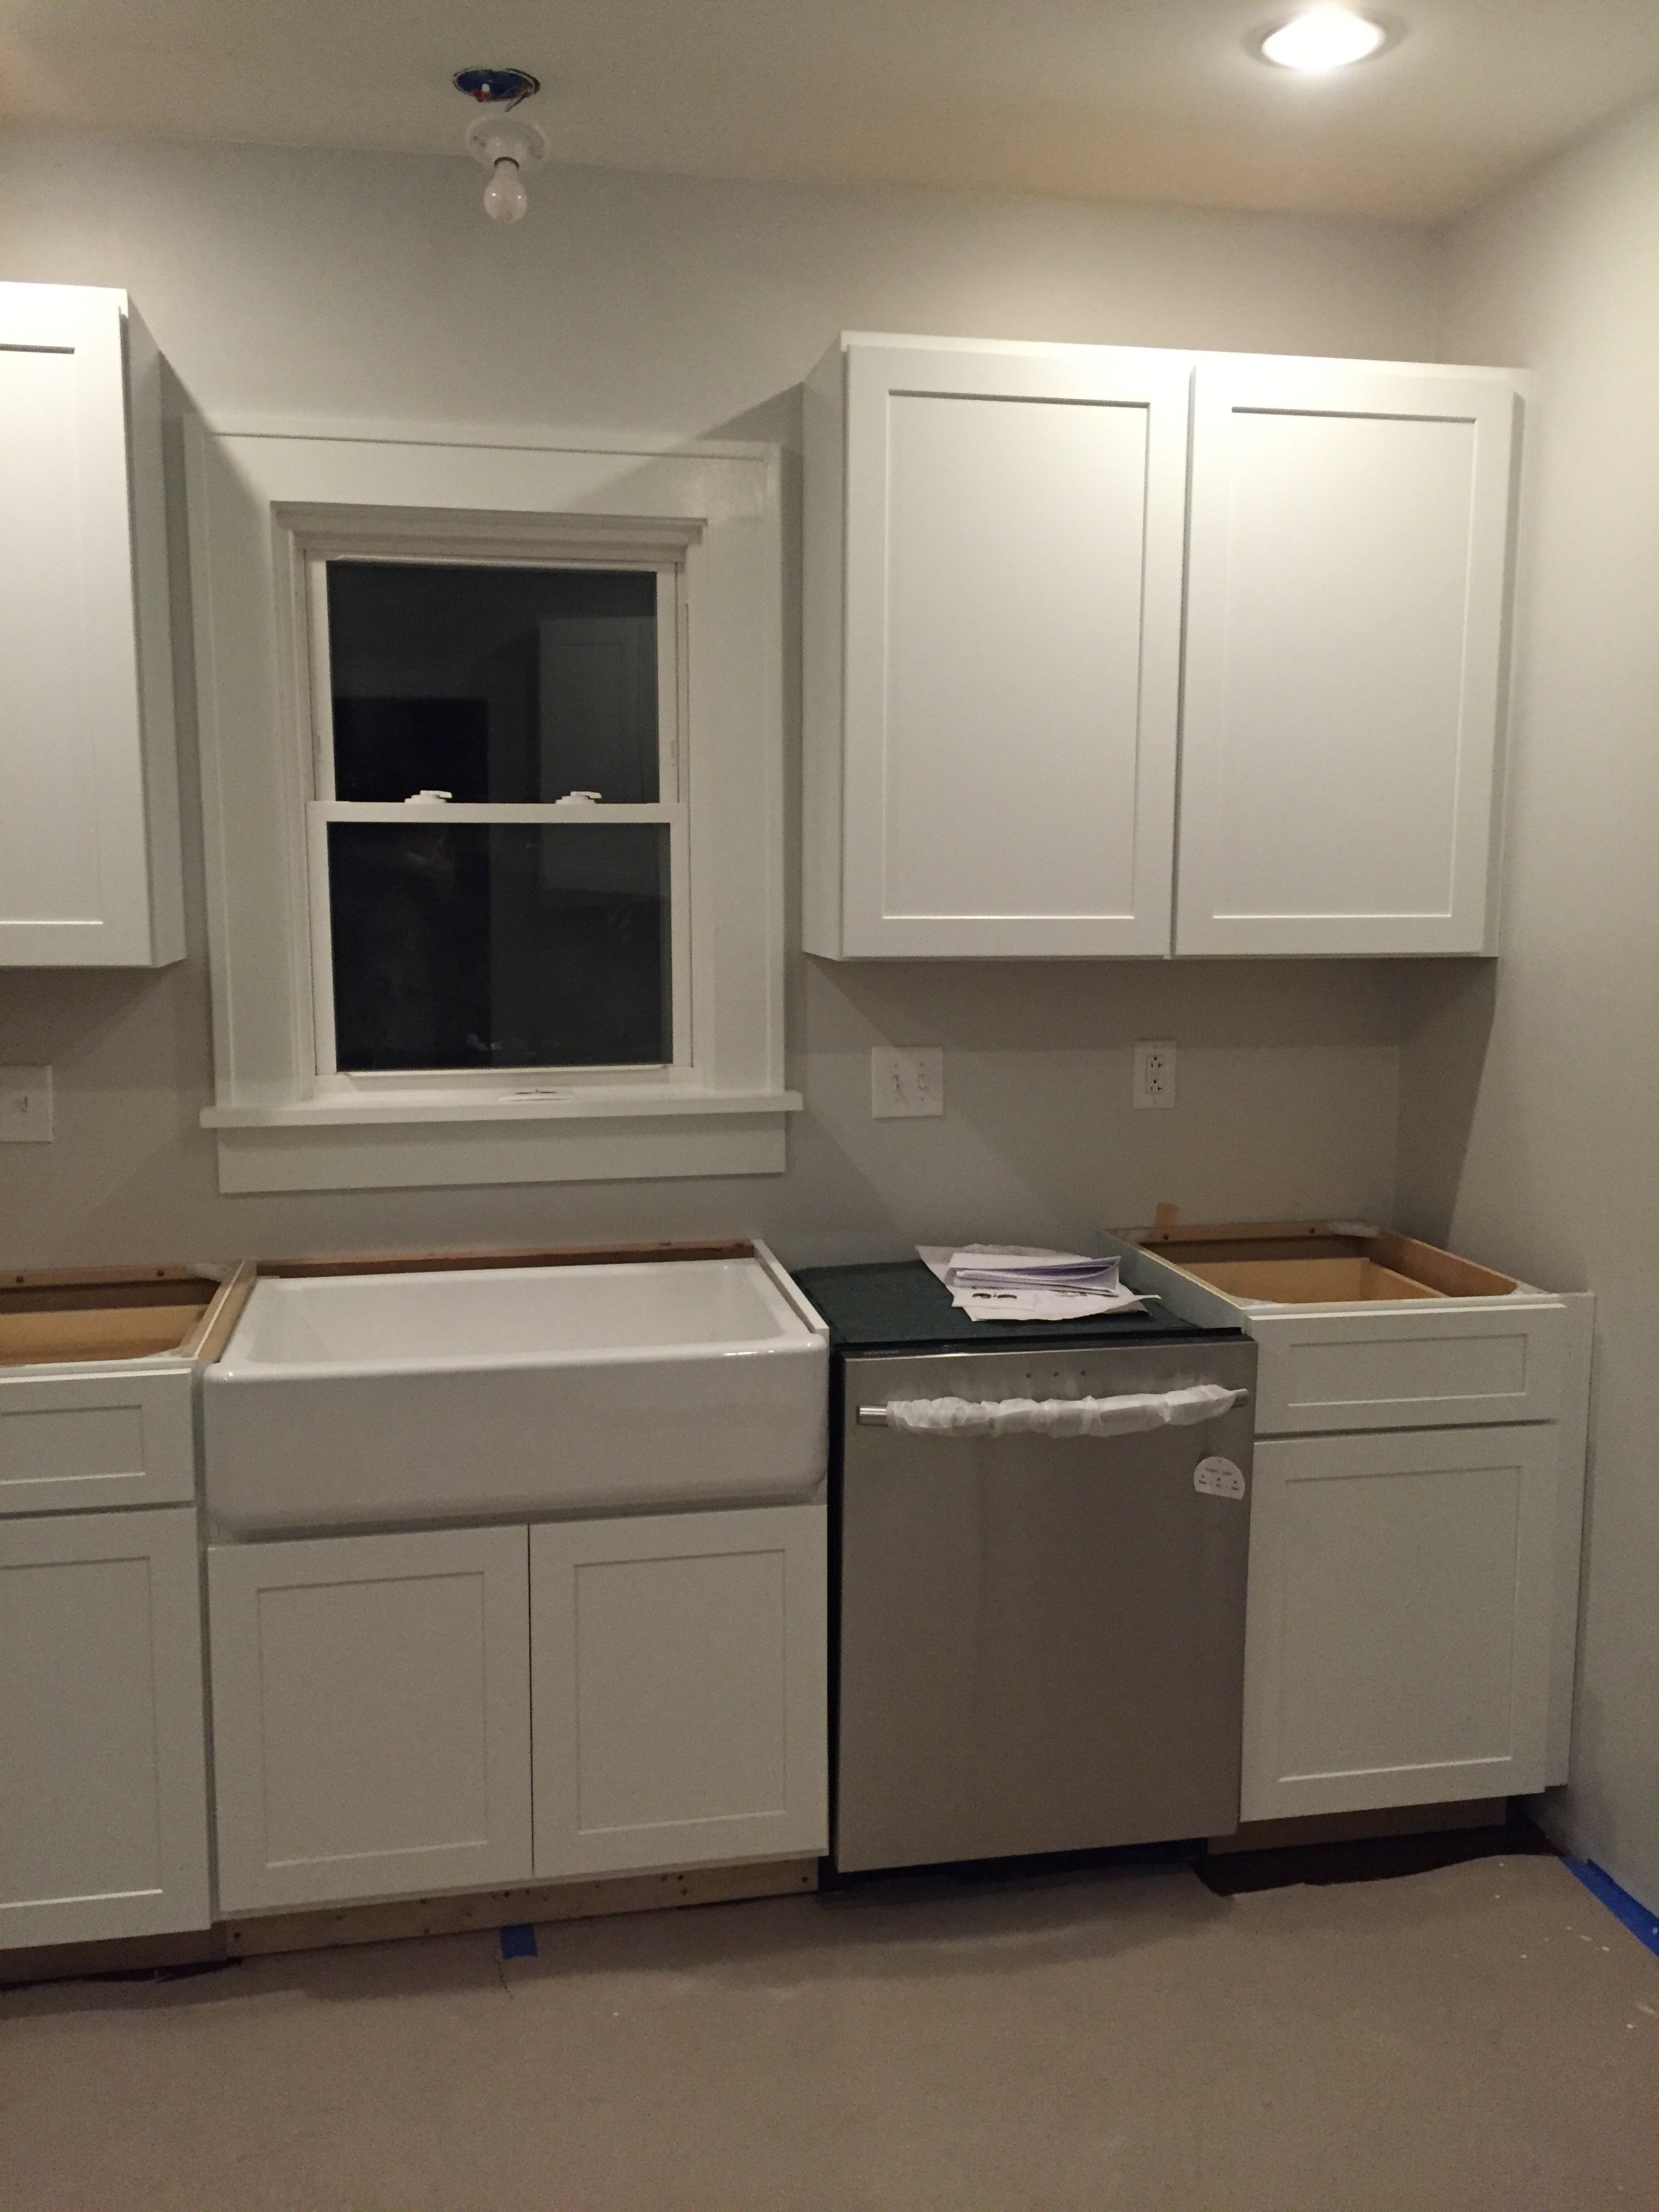
If you are curious about sources, I've listed everything below, and am happy to answer questions if you leave them in the comments. Also, I've added a gallery of process photos if you want to see the full down-and-dirty!
Appliances: Samsung | Cabinetry: Firenza Stone | Countertops: Ella by Cambria | Flooring: Home Depot | Tile: Lowe's | Pendant and Overhead Lighting: Rejuvenation | Sink: Kohler | Faucet: Artesso by Brizo | Hardware: Dakota from Restoration Hardware | Rug: ABC Carpet + Home | Roman Shades: Bali | Clock: West Elm
Process Photos: